How to Create a Bookable Event with Bookly
A special event is a service or activity that has limited availability and requires advanced scheduling. It can be anything from a class, workshop, webinar, one-time appointment, or any other type of event with specific date(s) and time(s).
With a booking system like Bookly, you can create an event booking form and let your clients reserve such events in just a few clicks.
Here we’ll describe how to quickly set up Bookly settings to allow online bookings on certain days and times only.
Event Details & Description
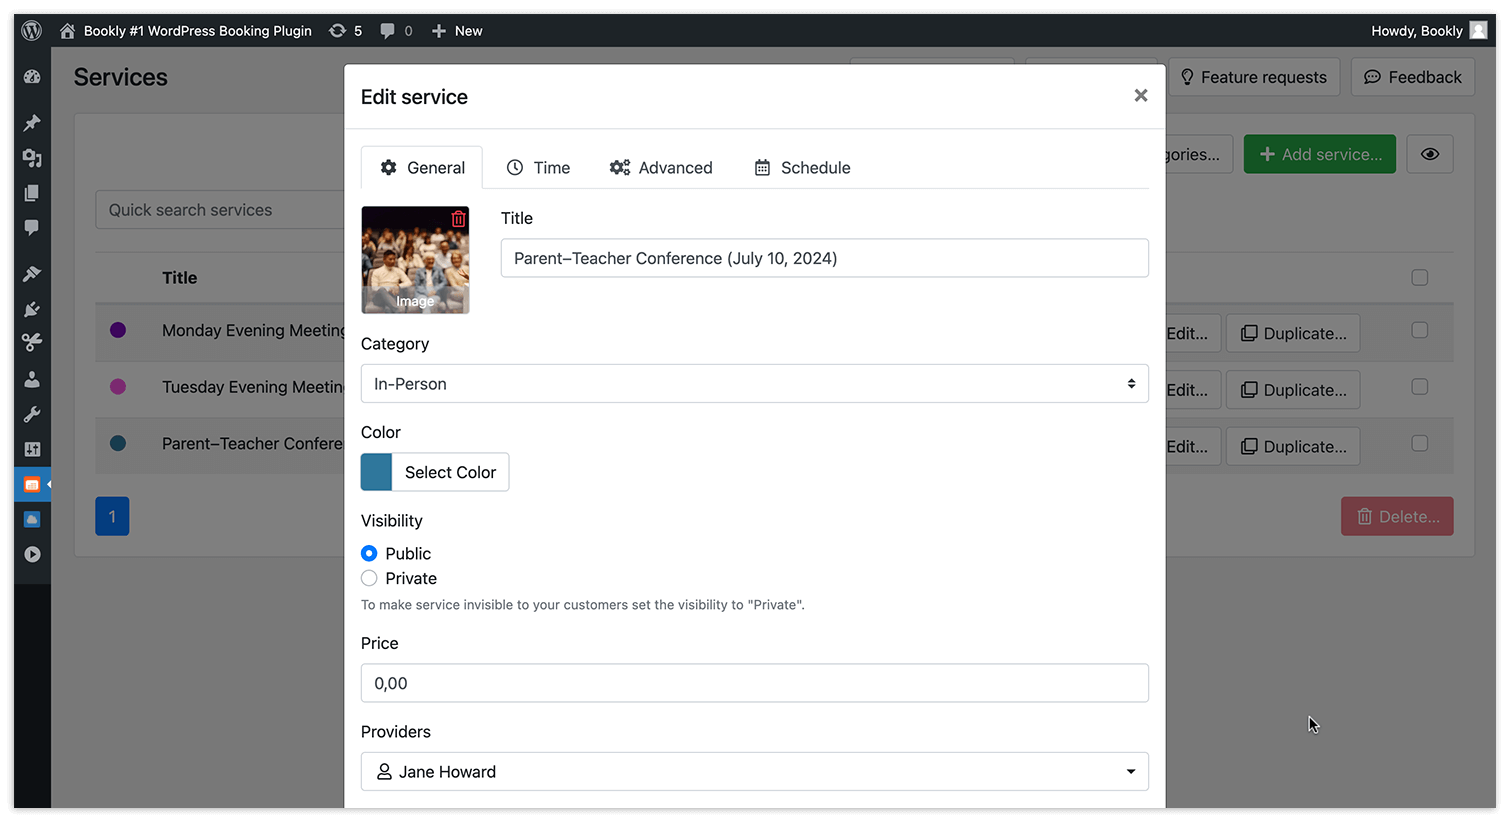
Navigate to the Services section, add a new service, and fill in the required details. Include the event title, price, description (optional but recommended), and duration (how long the event will last). Remember, each service must be assigned to at least one staff member.
Booking Availability
Staff schedule
Assign a staff member to the event by editing their profile in the Services tab.
You can manage the availability of the event by adjusting the working days and hours for the staff member responsible for the service.
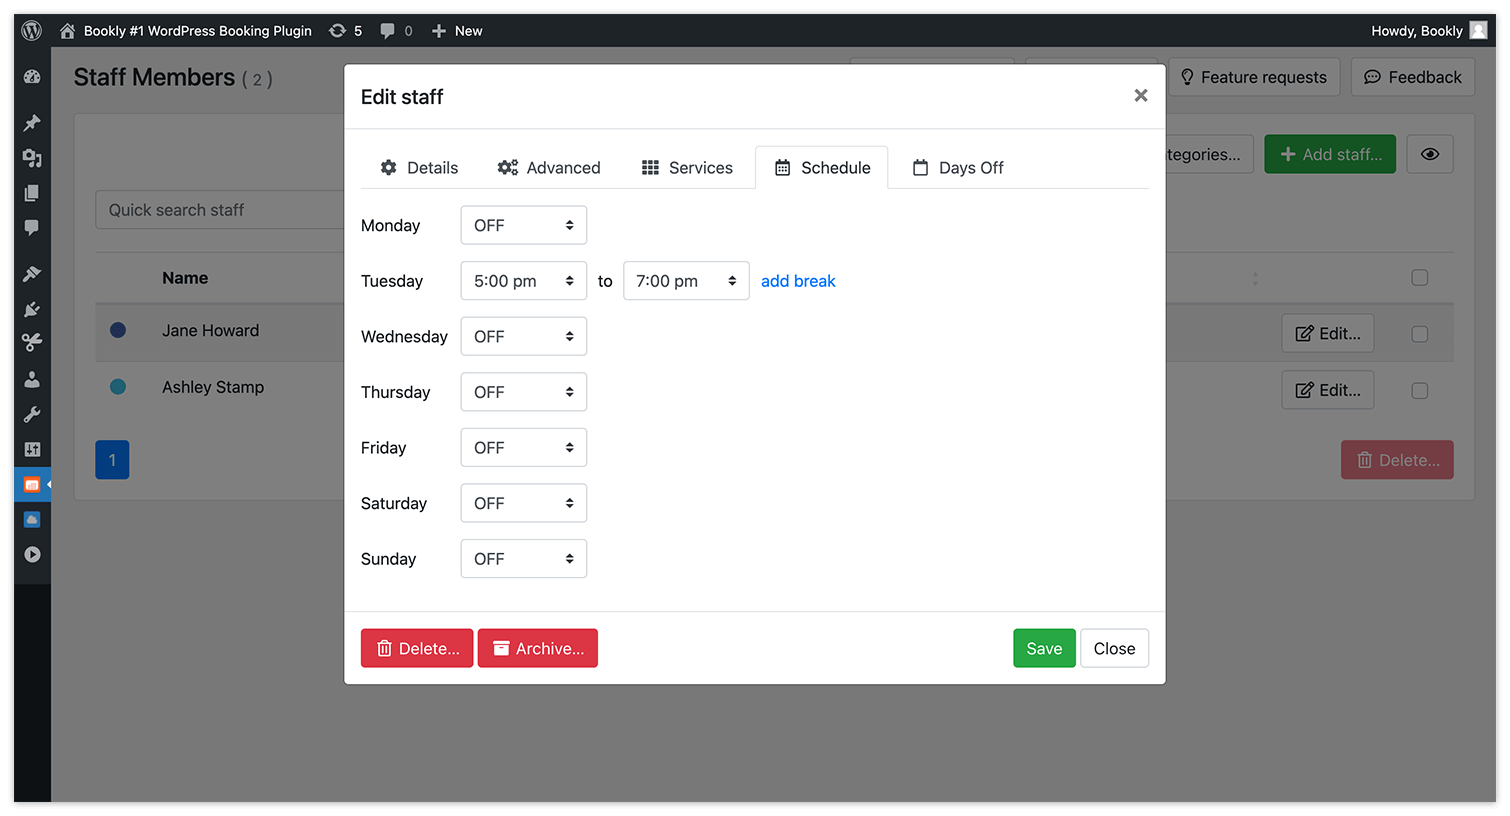
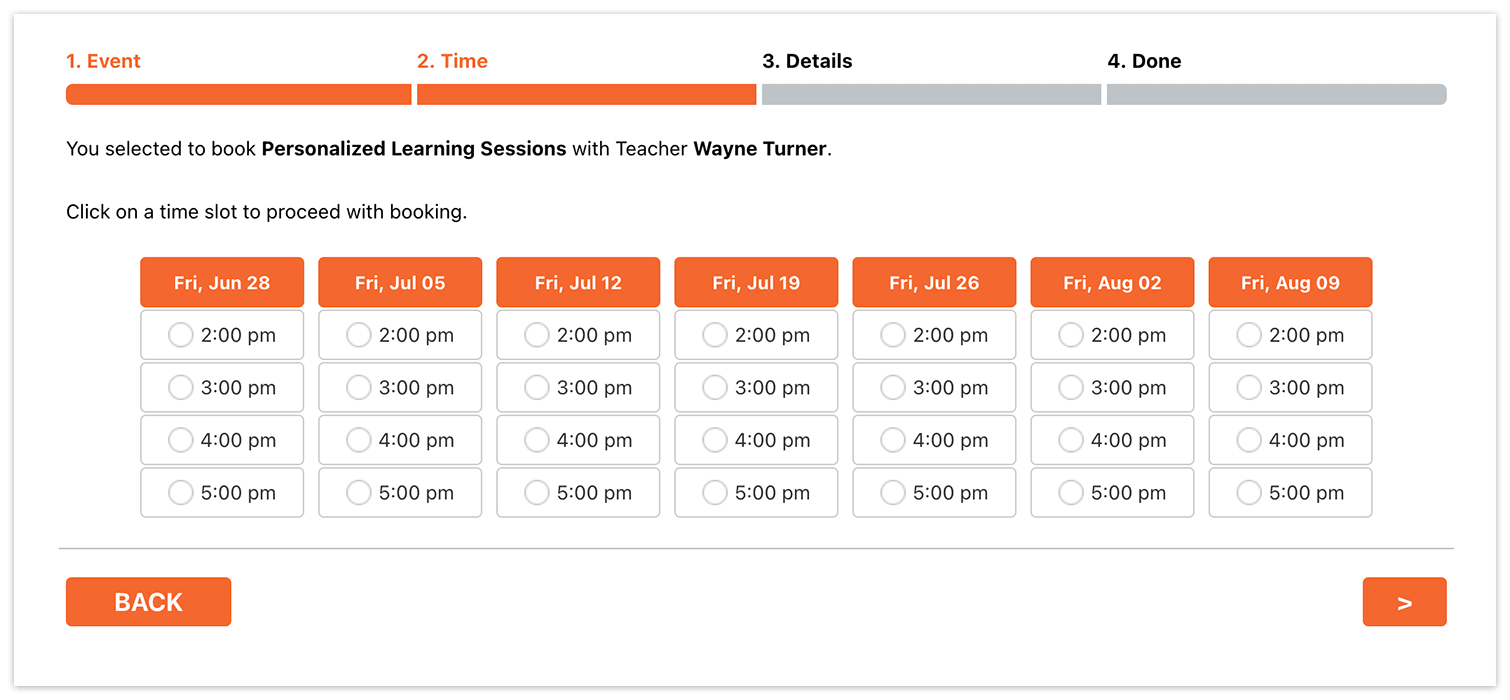
- For events occurring weekly on specific days, disable all other days in the staff member’s schedule except for the required day (Staff Members > Edit > Schedule).
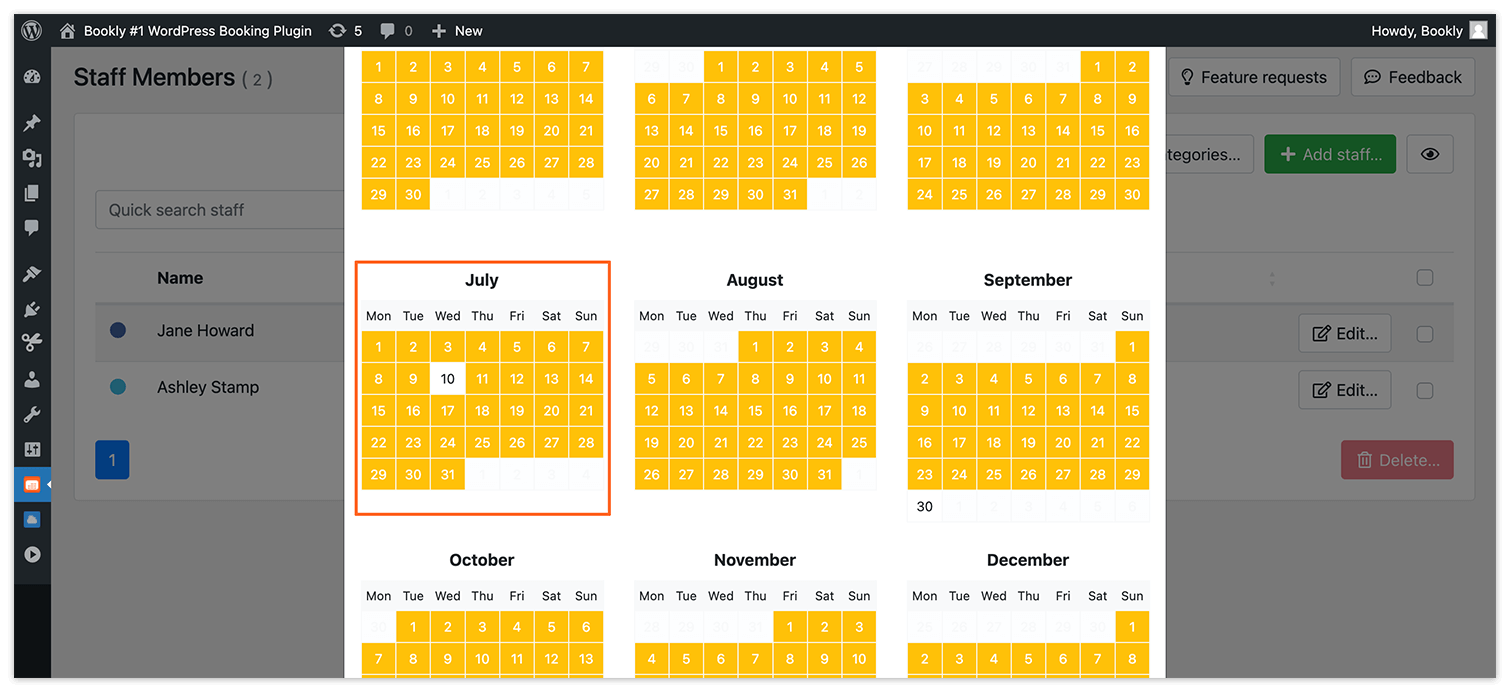
- If your event happens monthly or annually, adjust the staff member’s working days in the ‘Days off’ tab to disable non-working days.
Service availability
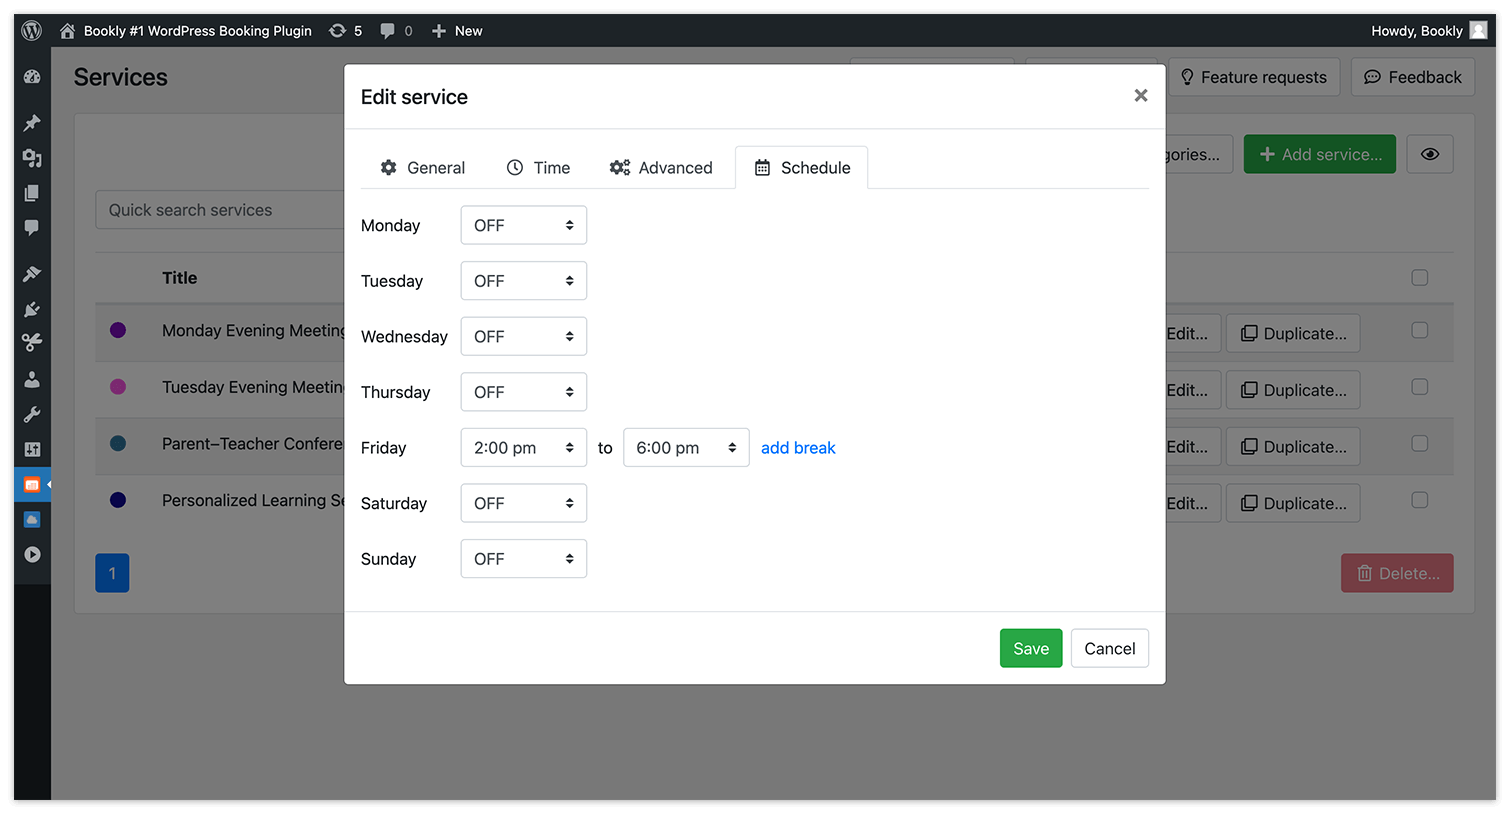
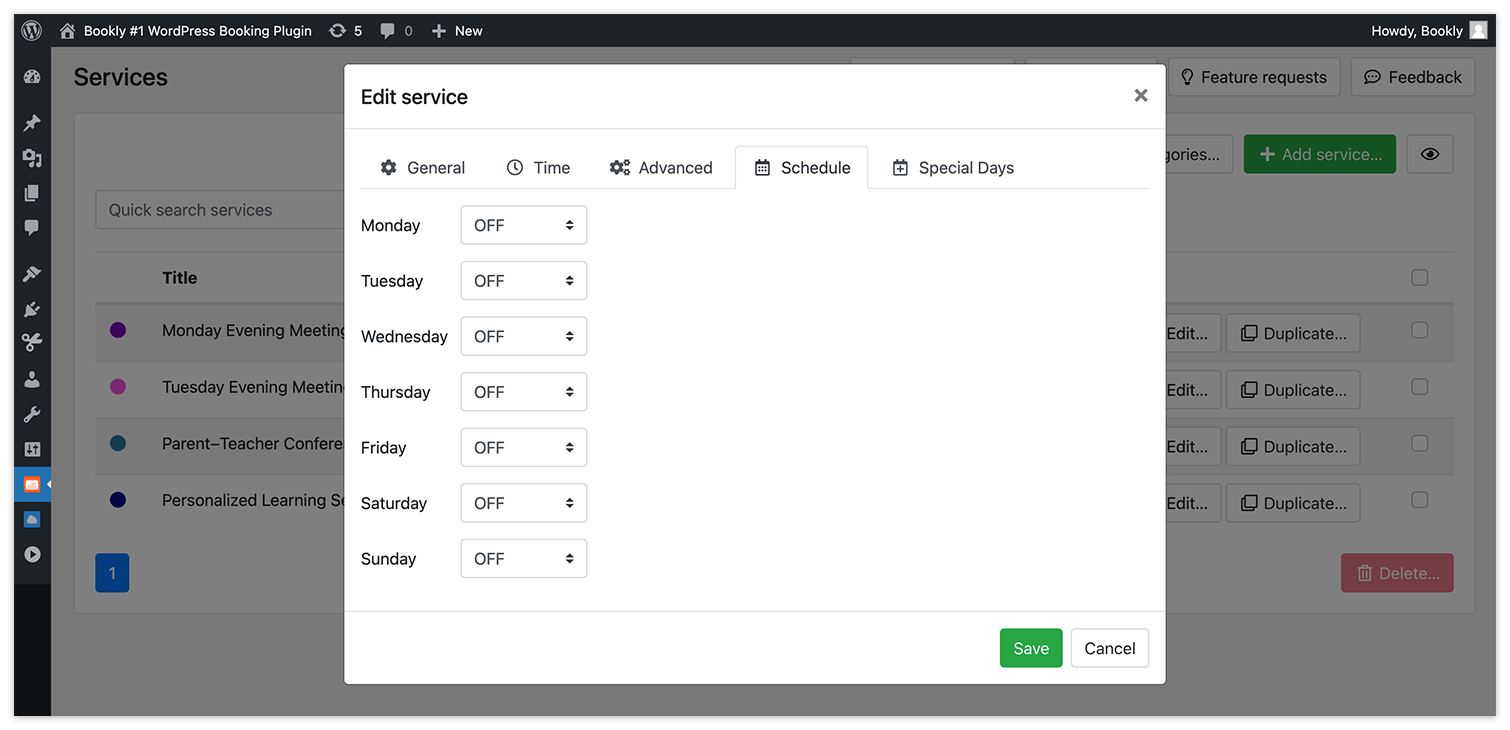
By default, services in Bookly are available only during the staff member’s working hours. To restrict service availability, you can use the Service Schedule (Add-on), which defines specific intervals when the service can be provided.
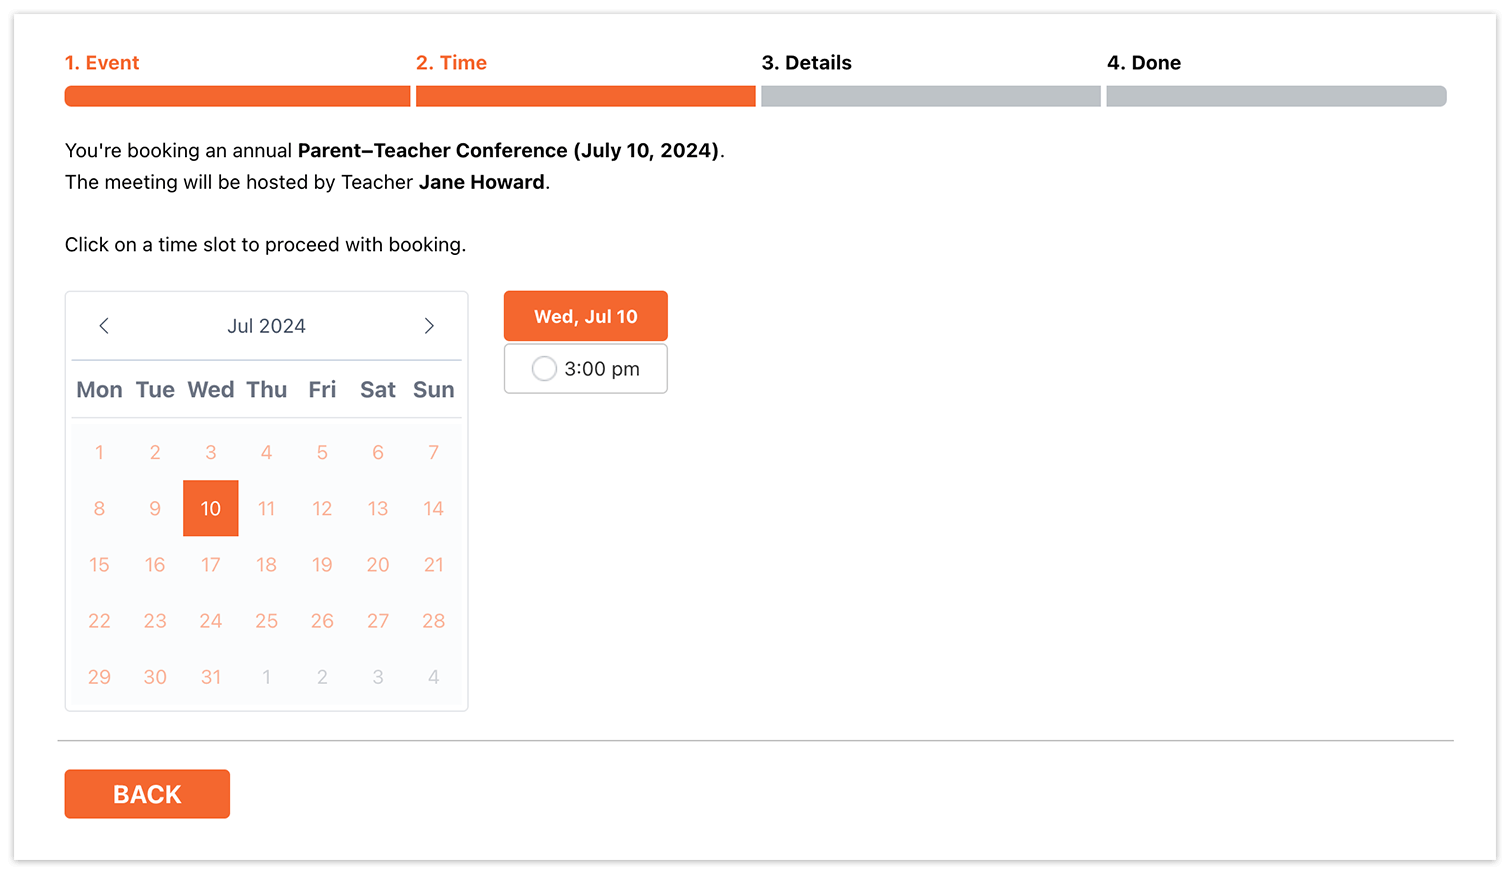
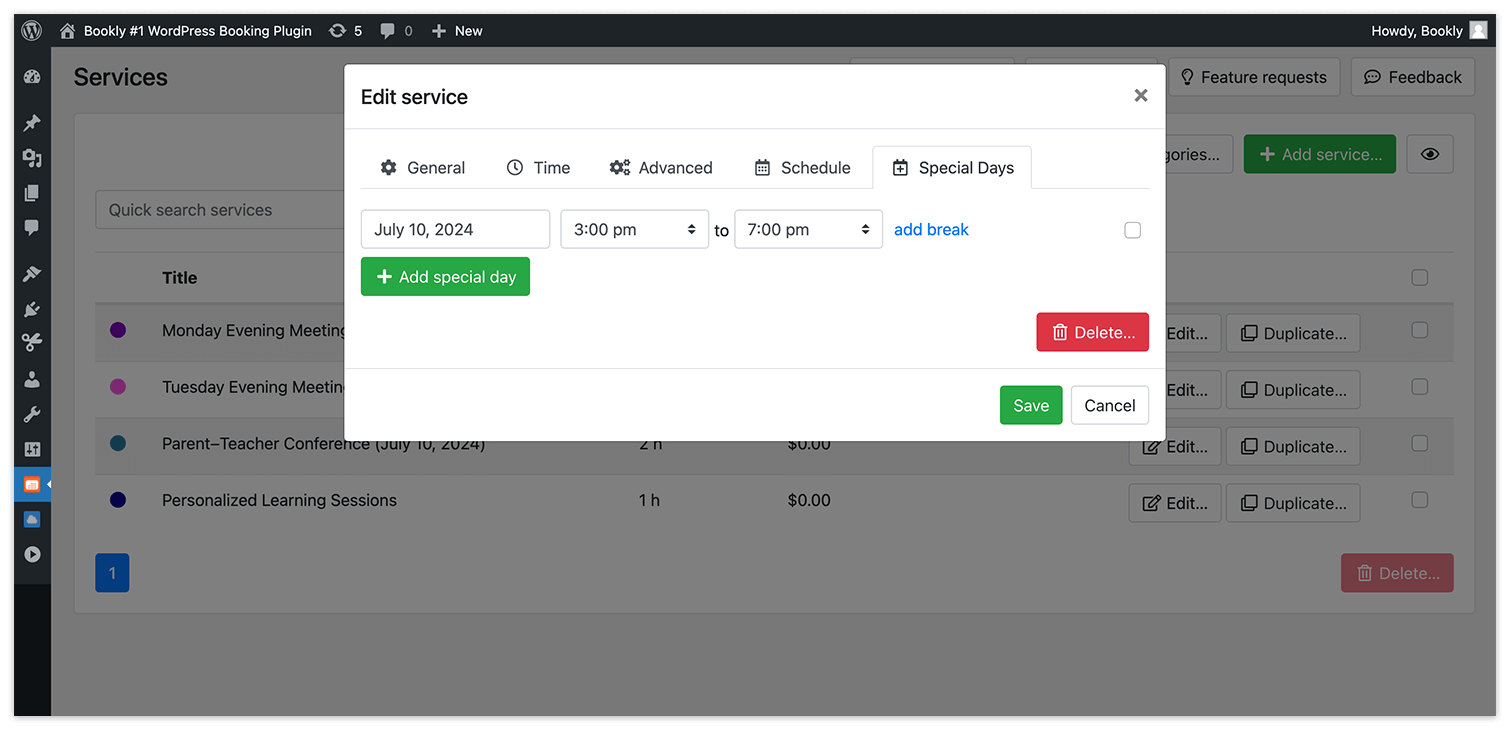
Additionally, by combining the Service Schedule (Add-on) with the Special Days (Add-on) for Bookly, you can create date-specific services, such as special events with fixed dates.
Customize Booking Form
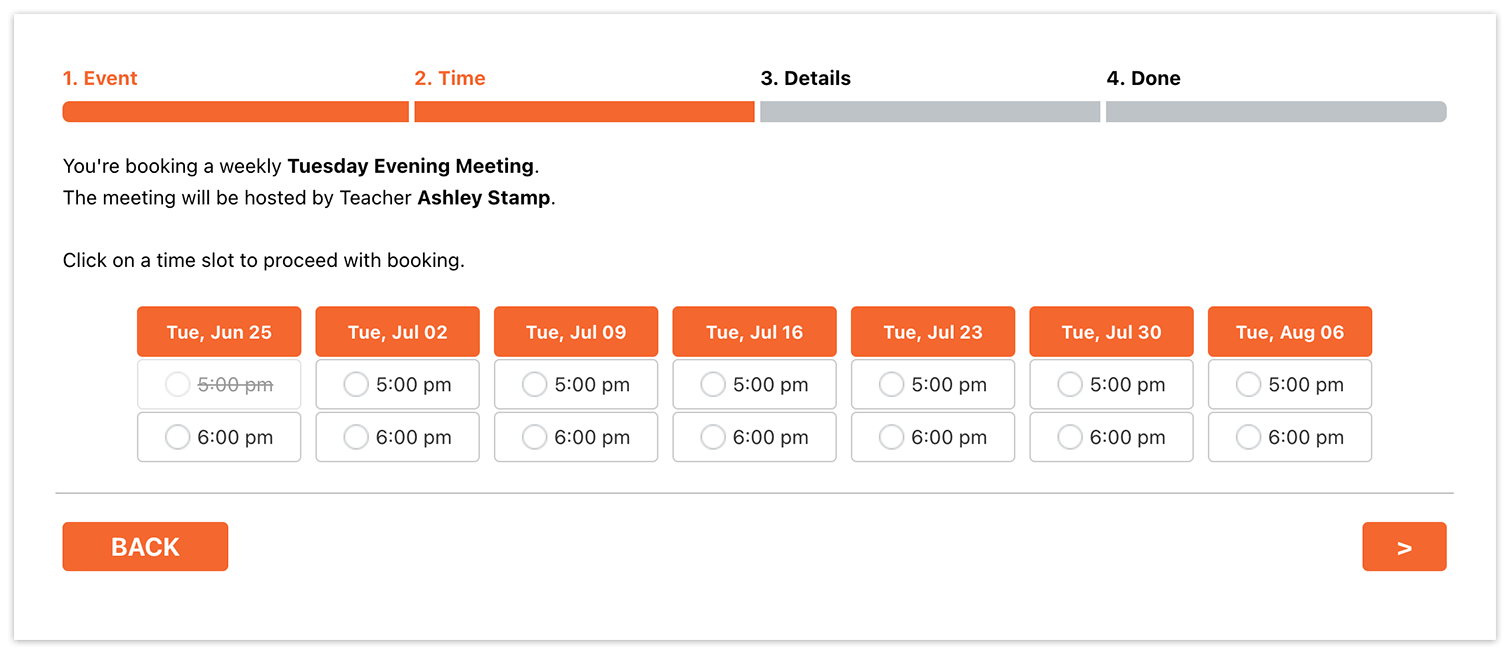
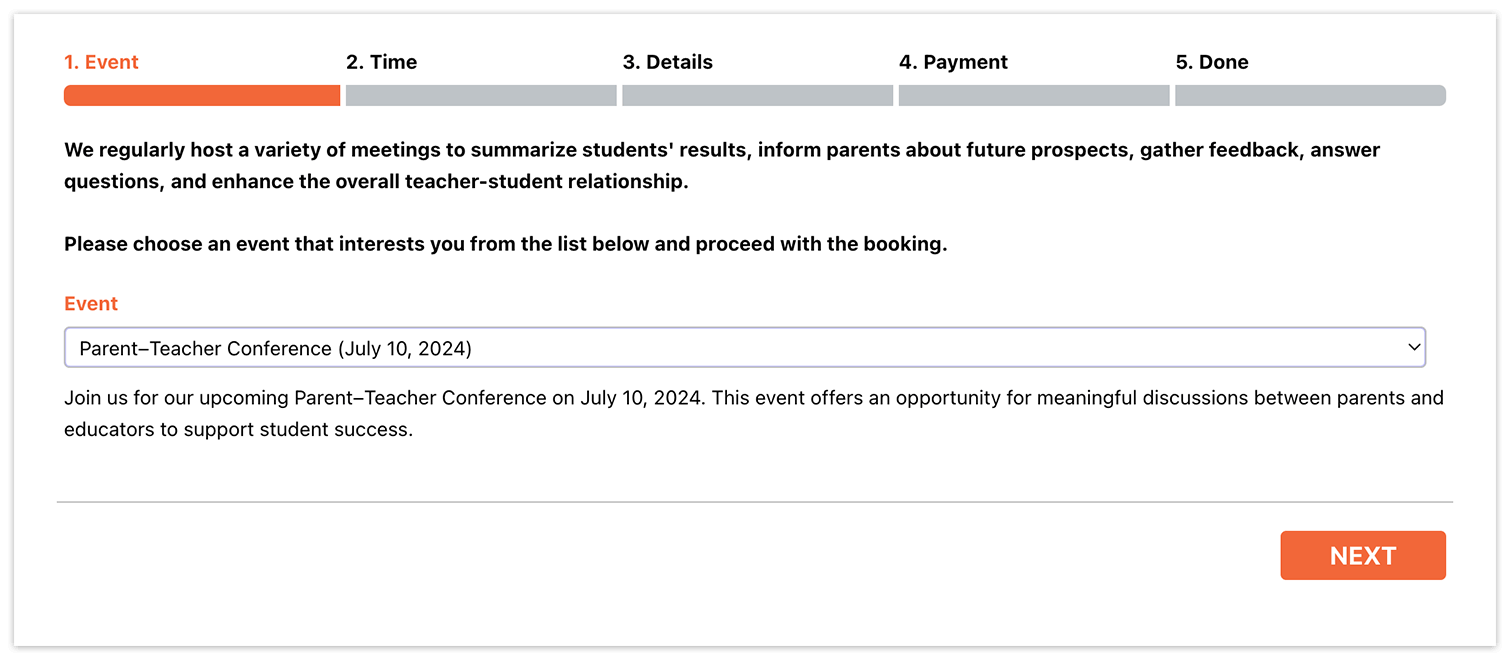
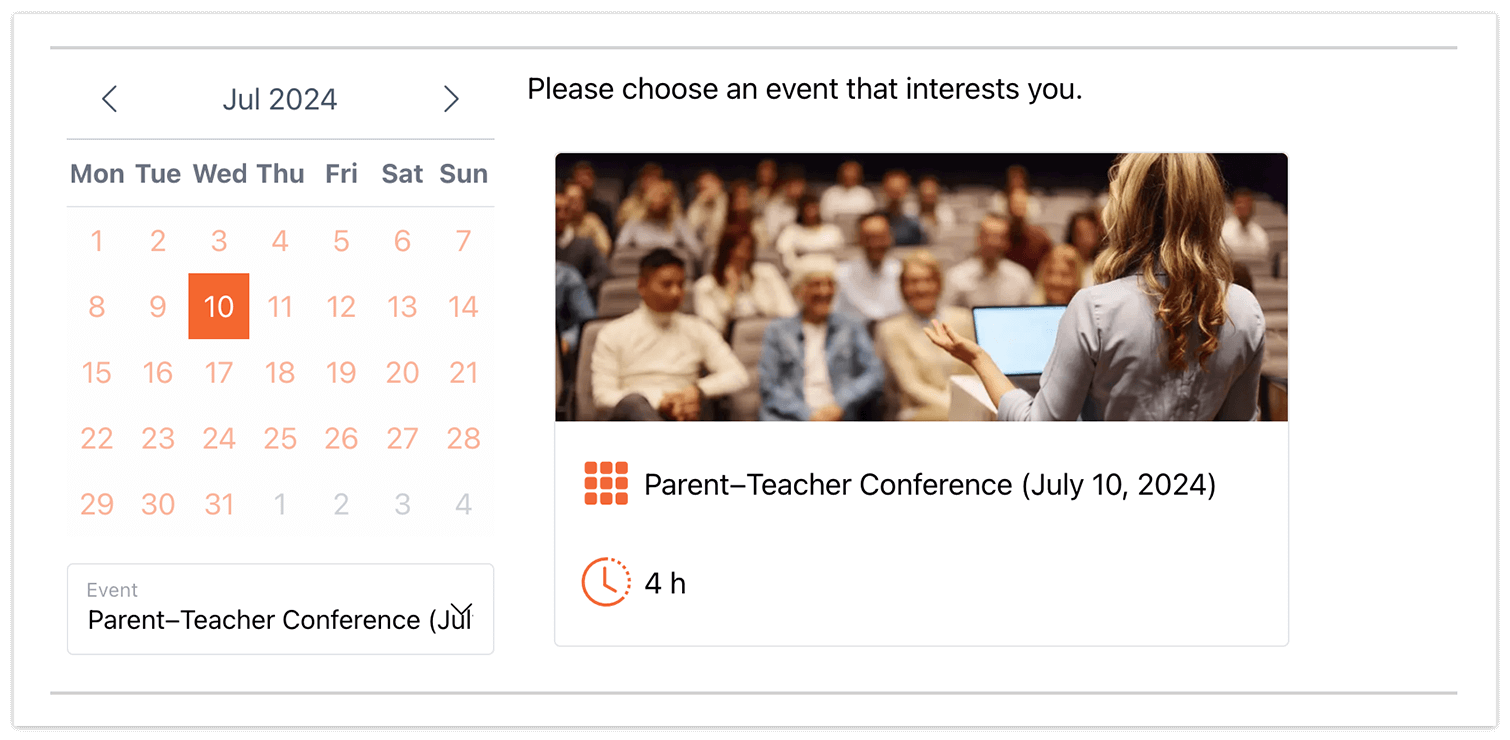
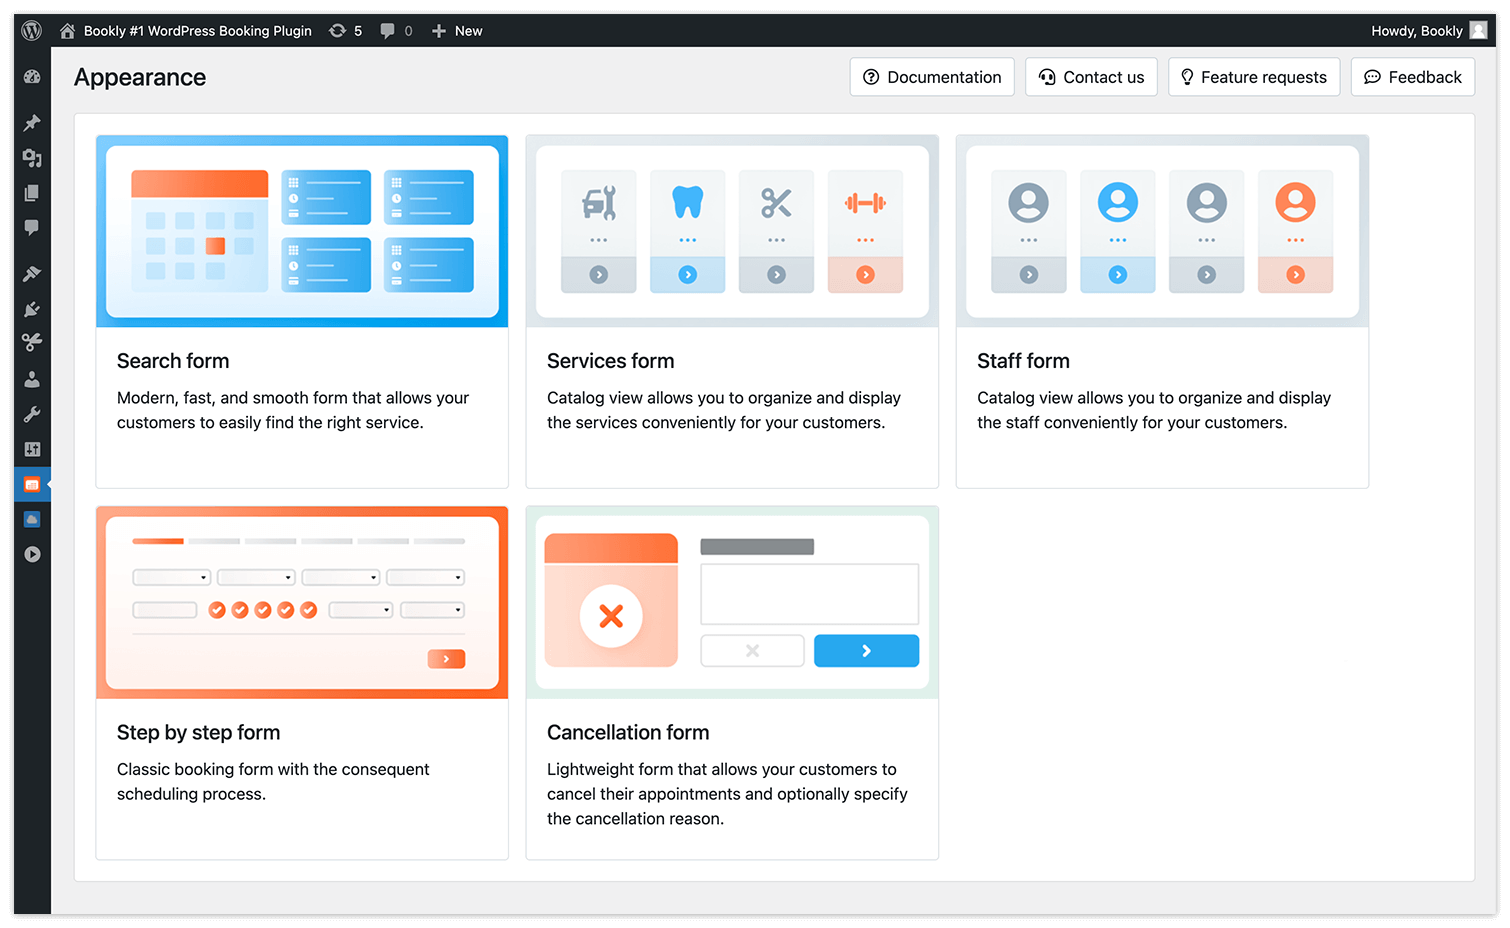
With Bookly, you can create service-specific booking forms with pre-defined values for the service and staff member. You can also hide the service and staff selection fields if necessary. This results in a cleaner and more attractive booking form for your event.
Learn more about customizing the Bookly booking form to suit your needs by following these links:
- How to Create Service-Specific Booking Form (Modern forms)
- How to Create Service-Specific Booking Form (Step-by-step classic form)
- How to Hide Service & Employee Fields
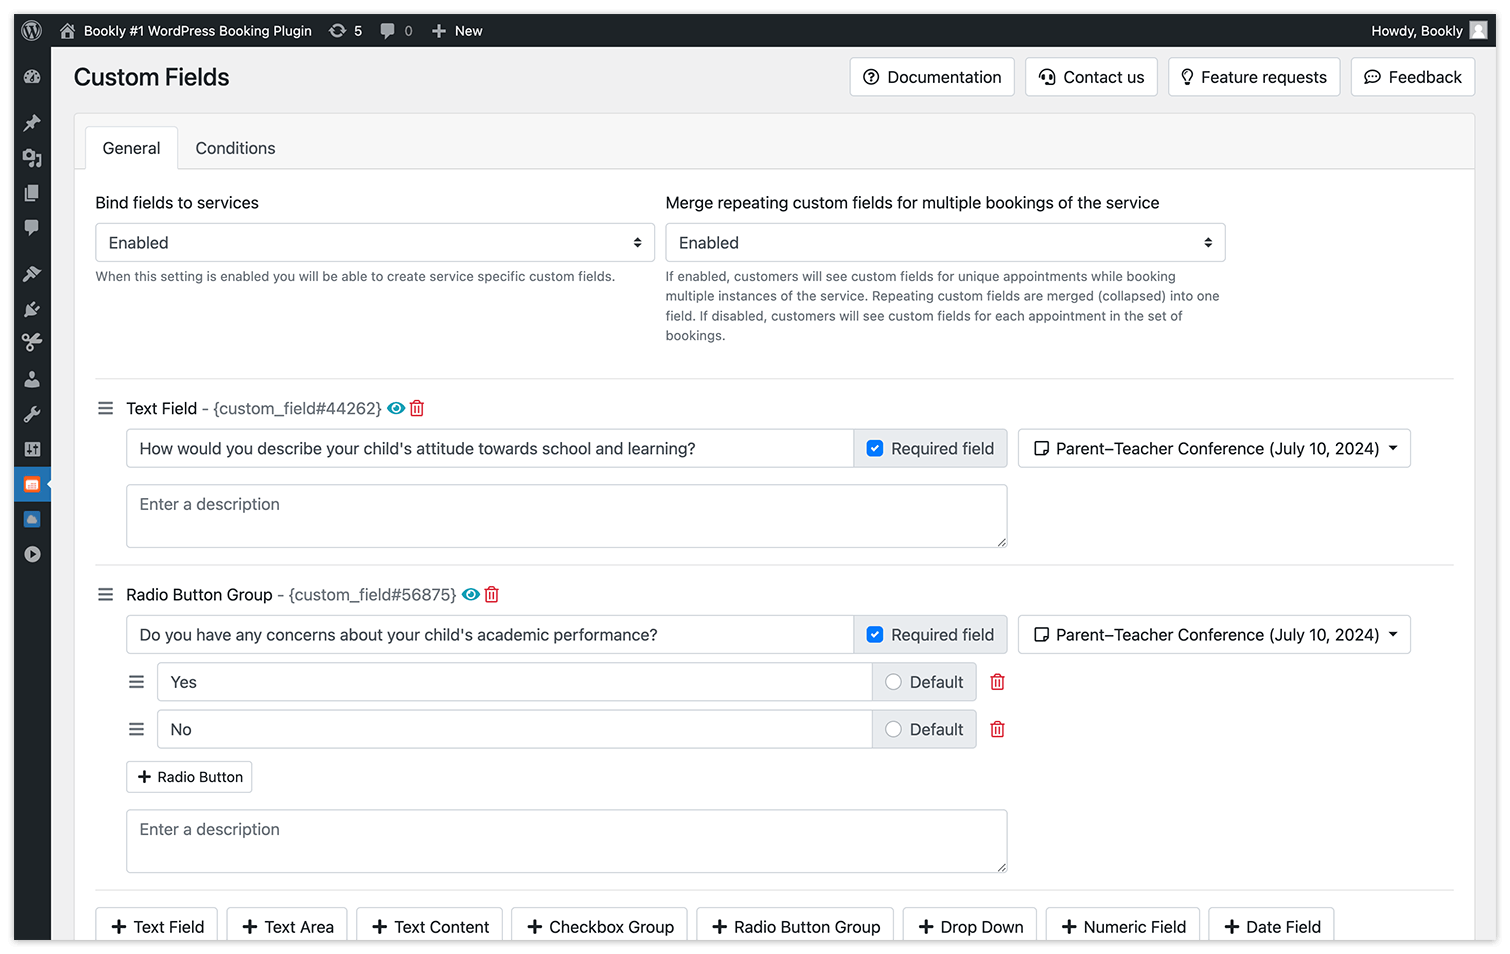
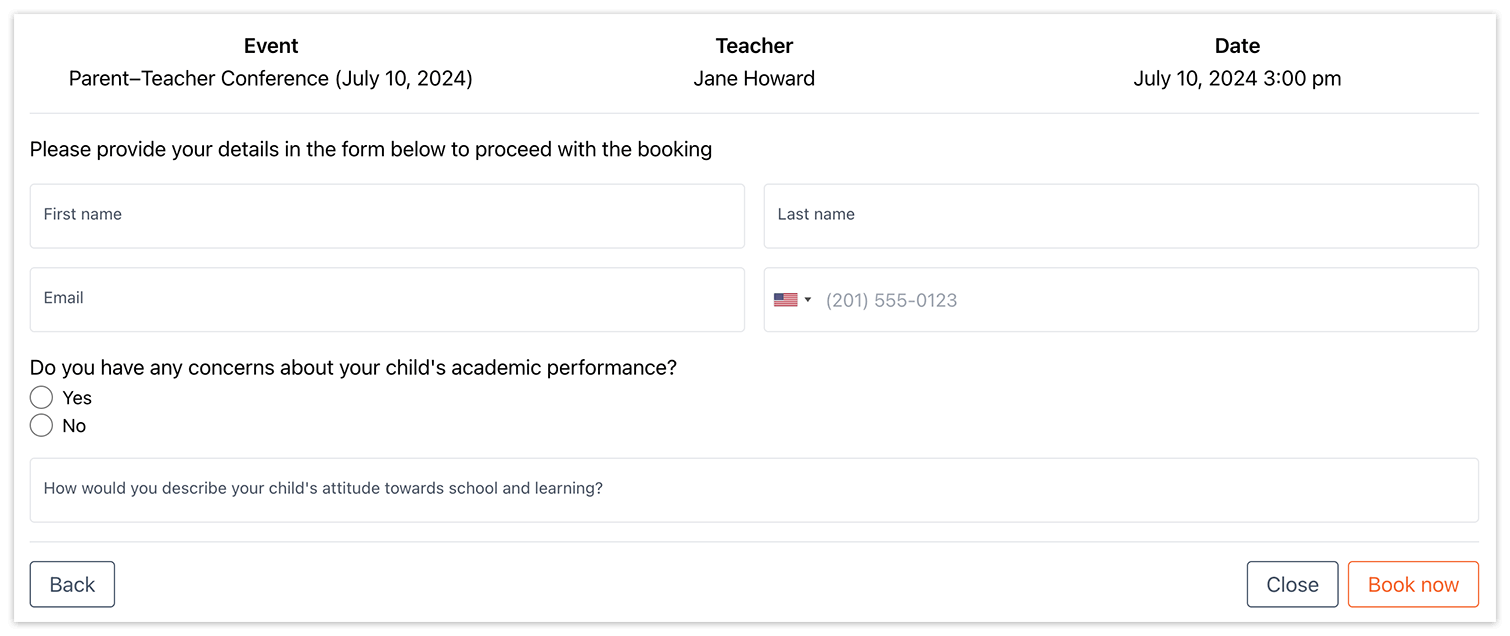
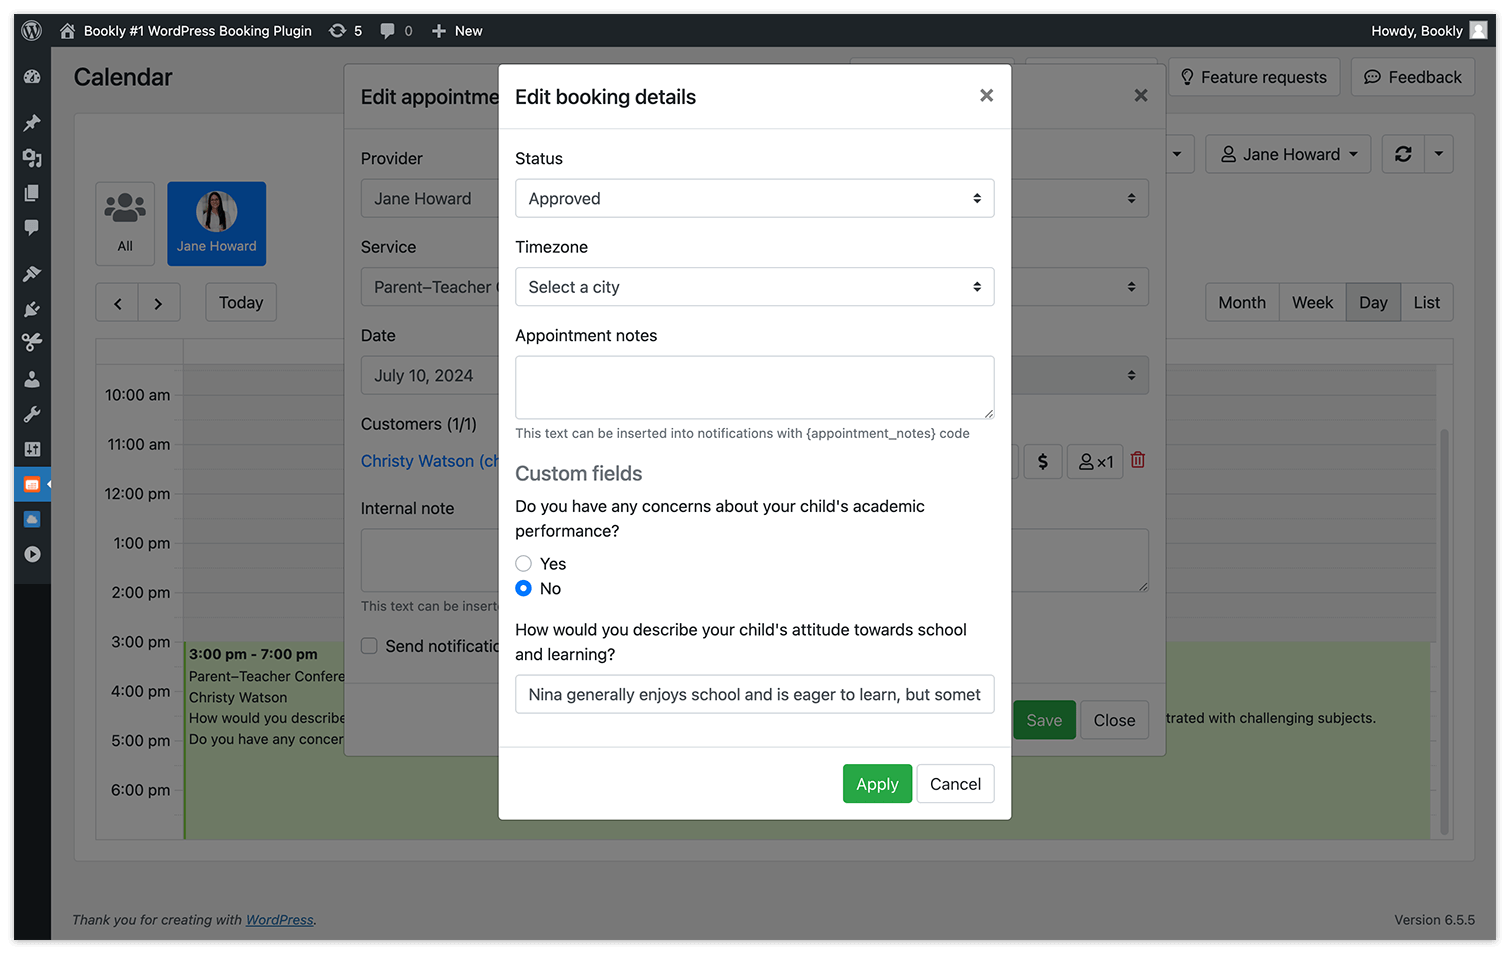
Customize the Details step of your booking form to collect necessary information from clients. This can include specific requirements for the event or additional personal questions. With the Custom Fields (Add-on) for Bookly, you can choose from various types of questions, set them as required or optional, and seamlessly integrate them into the Details step of the booking process.
When clients book an event, they will complete these custom fields, and all reservation details will be automatically added to your Bookly Calendar.
Group Booking
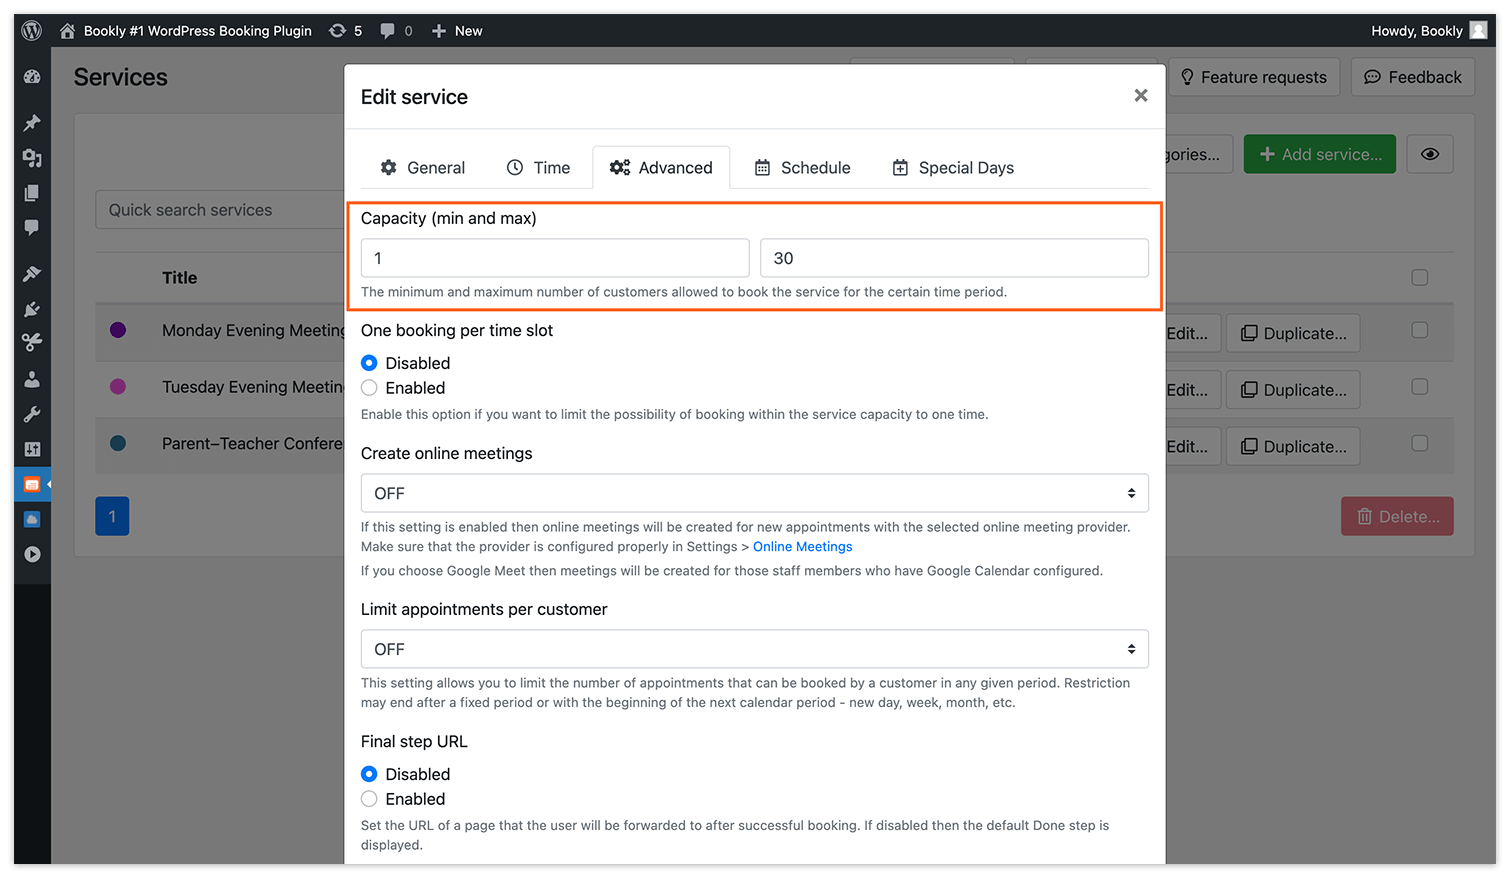
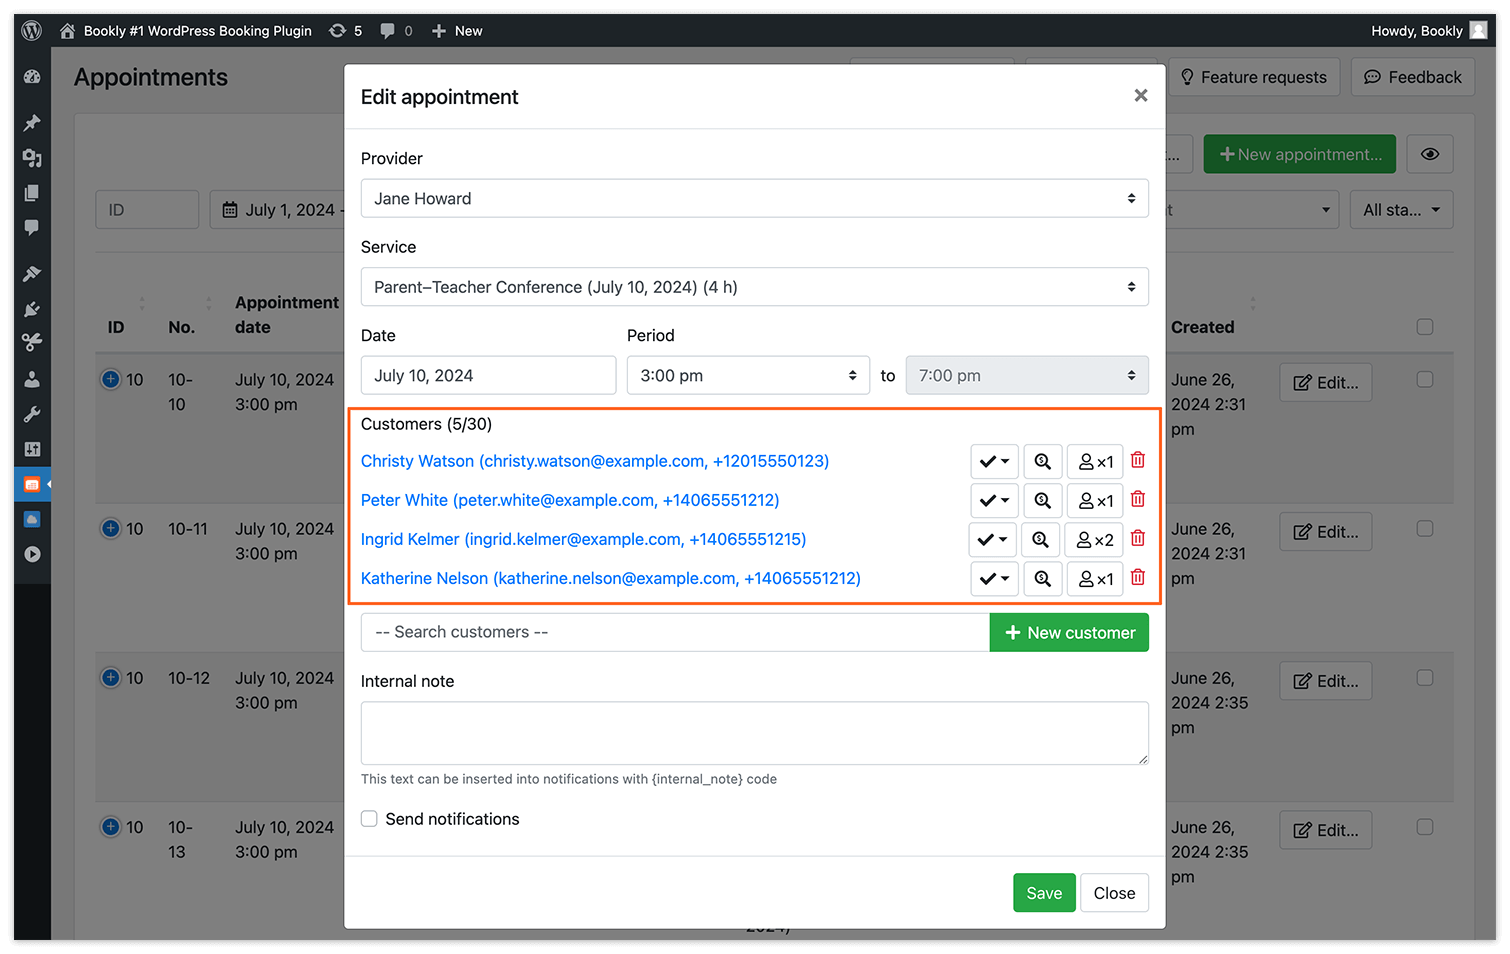
If you’re creating a group booking event, you can configure its capacity with the Group Booking (Add-on) for Bookly. The time slot will remain available for booking until all “seats” are filled.
Waiting List
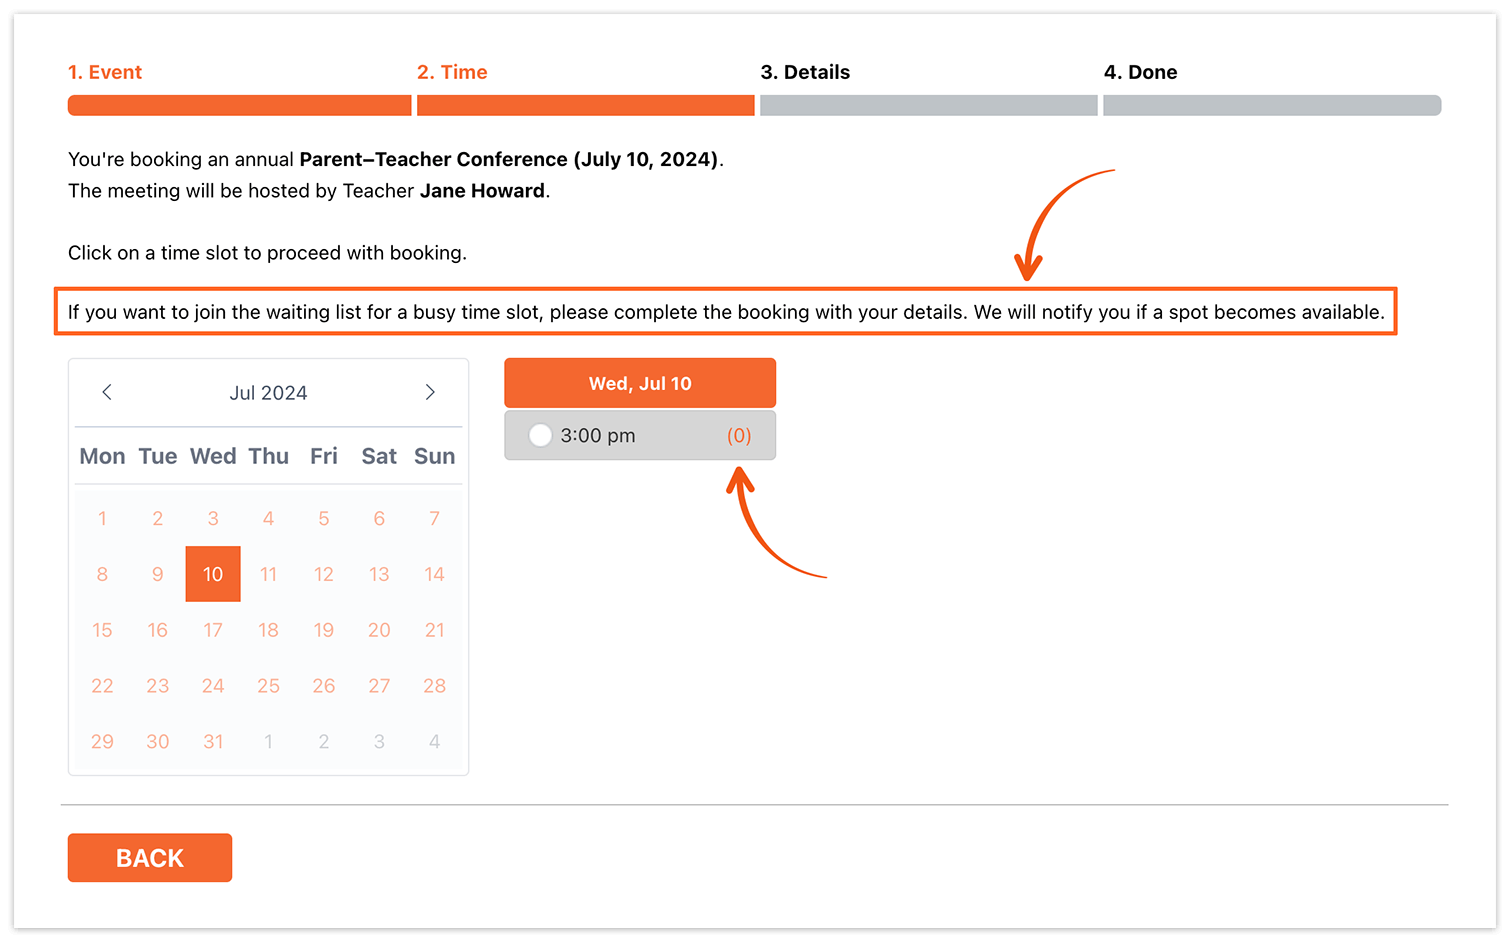
Allow your customers to join a waiting list for fully-booked events.
When cancellations occur, you can quickly fill those openings by notifying clients on the waiting list, ensuring no appointment goes unused. This feature is available with the Waiting List (Add-on) for Bookly.
Booking Confirmation
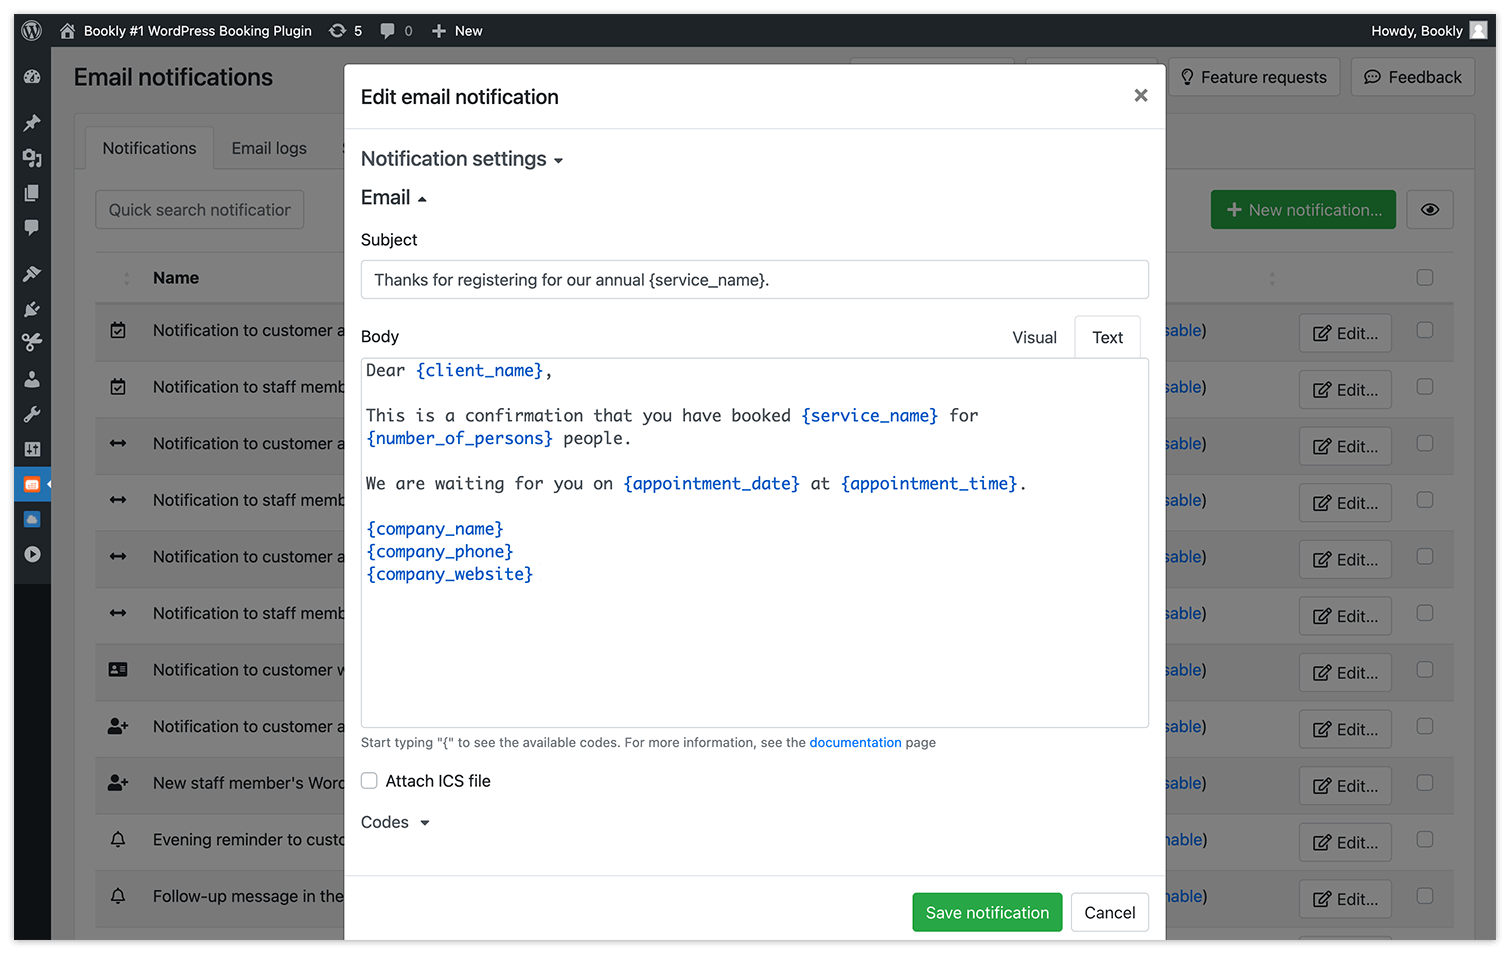
Customers, staff, and admins can receive automated confirmation emails or SMS notifications for each approved booking. All notification templates in Bookly are customizable to fit your specific scenarios and needs.
We also recommend setting up a quick reminder before an event to ensure your attendees don’t forget about it.
Reschedule or Cancellation by Client
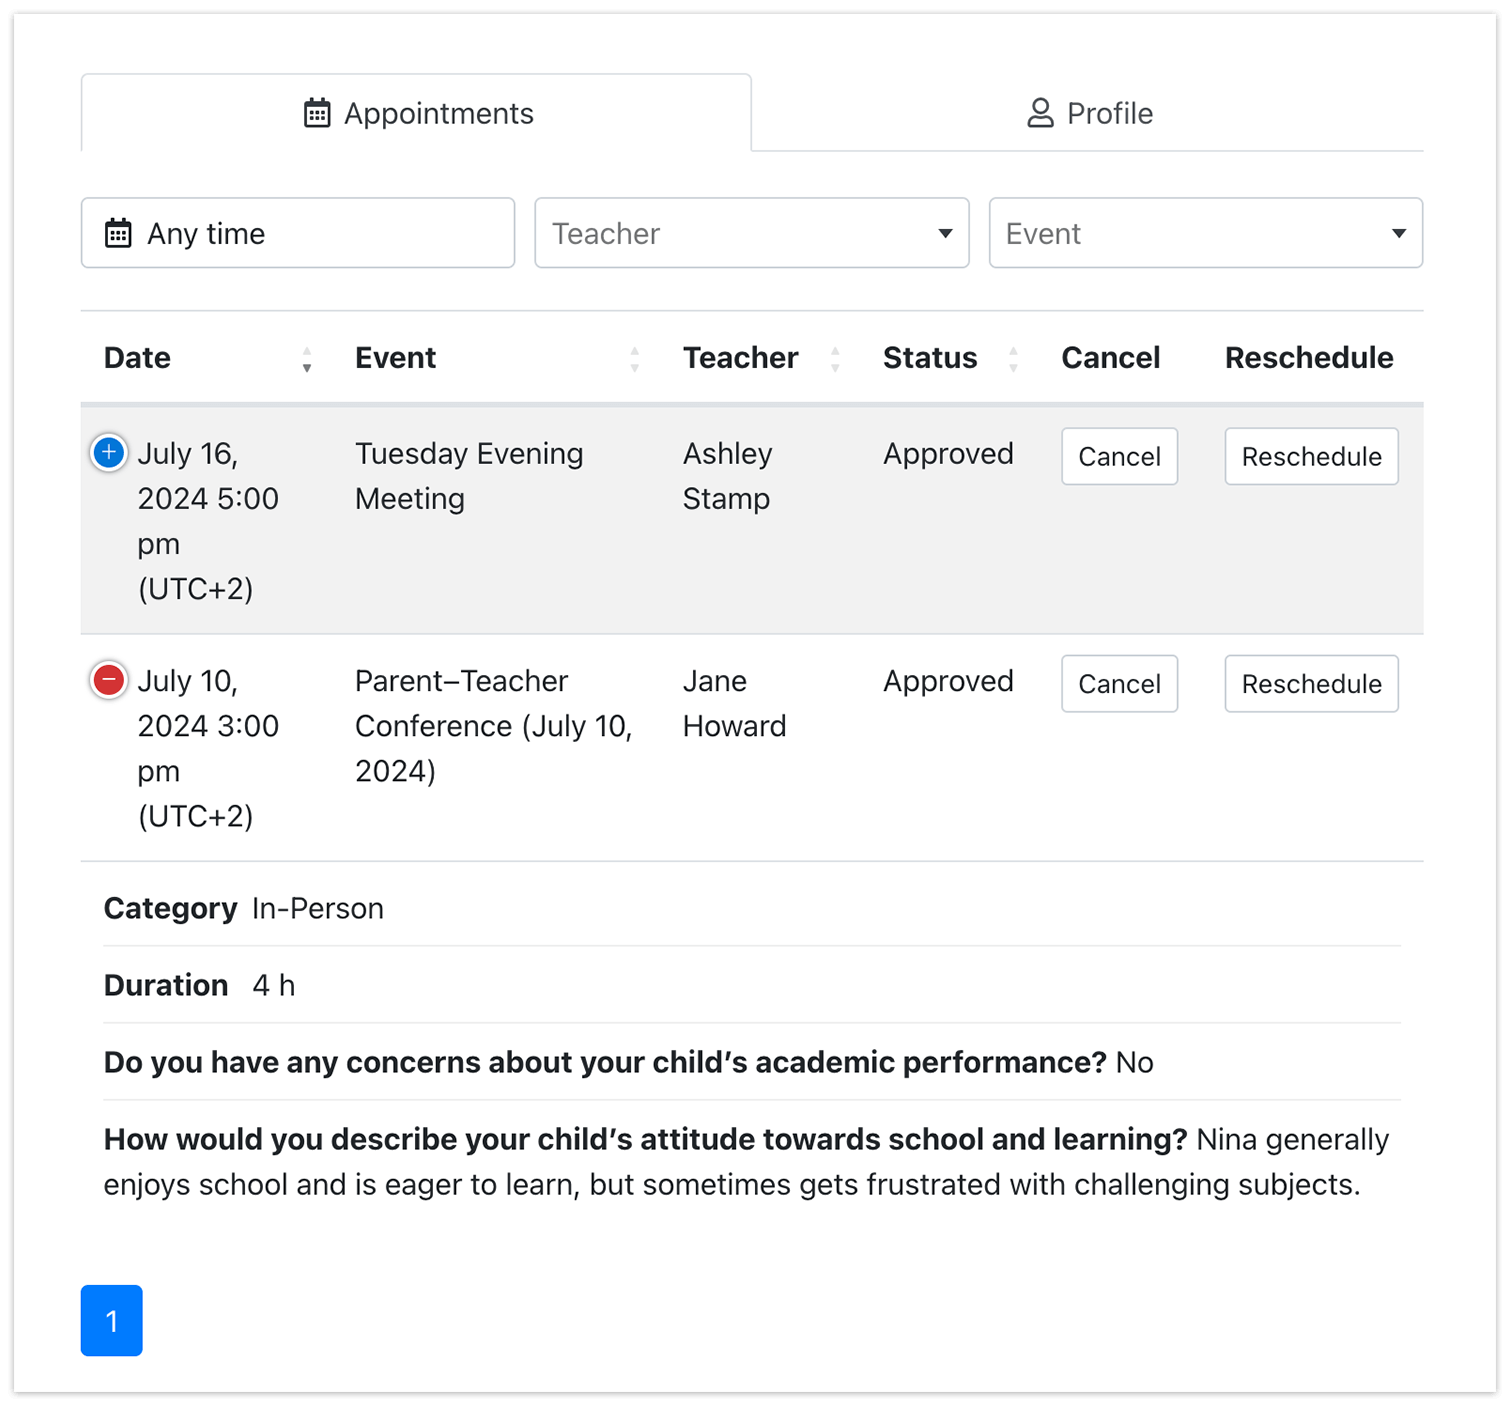
To allow customers to cancel or reschedule their meetings with you, we recommend adding a personal customer cabinet on your website. Clients will be able to view and manage their bookings, update their personal information, and see their payments.
This option is available as an add-on for Bookly.
Monitor Bookings
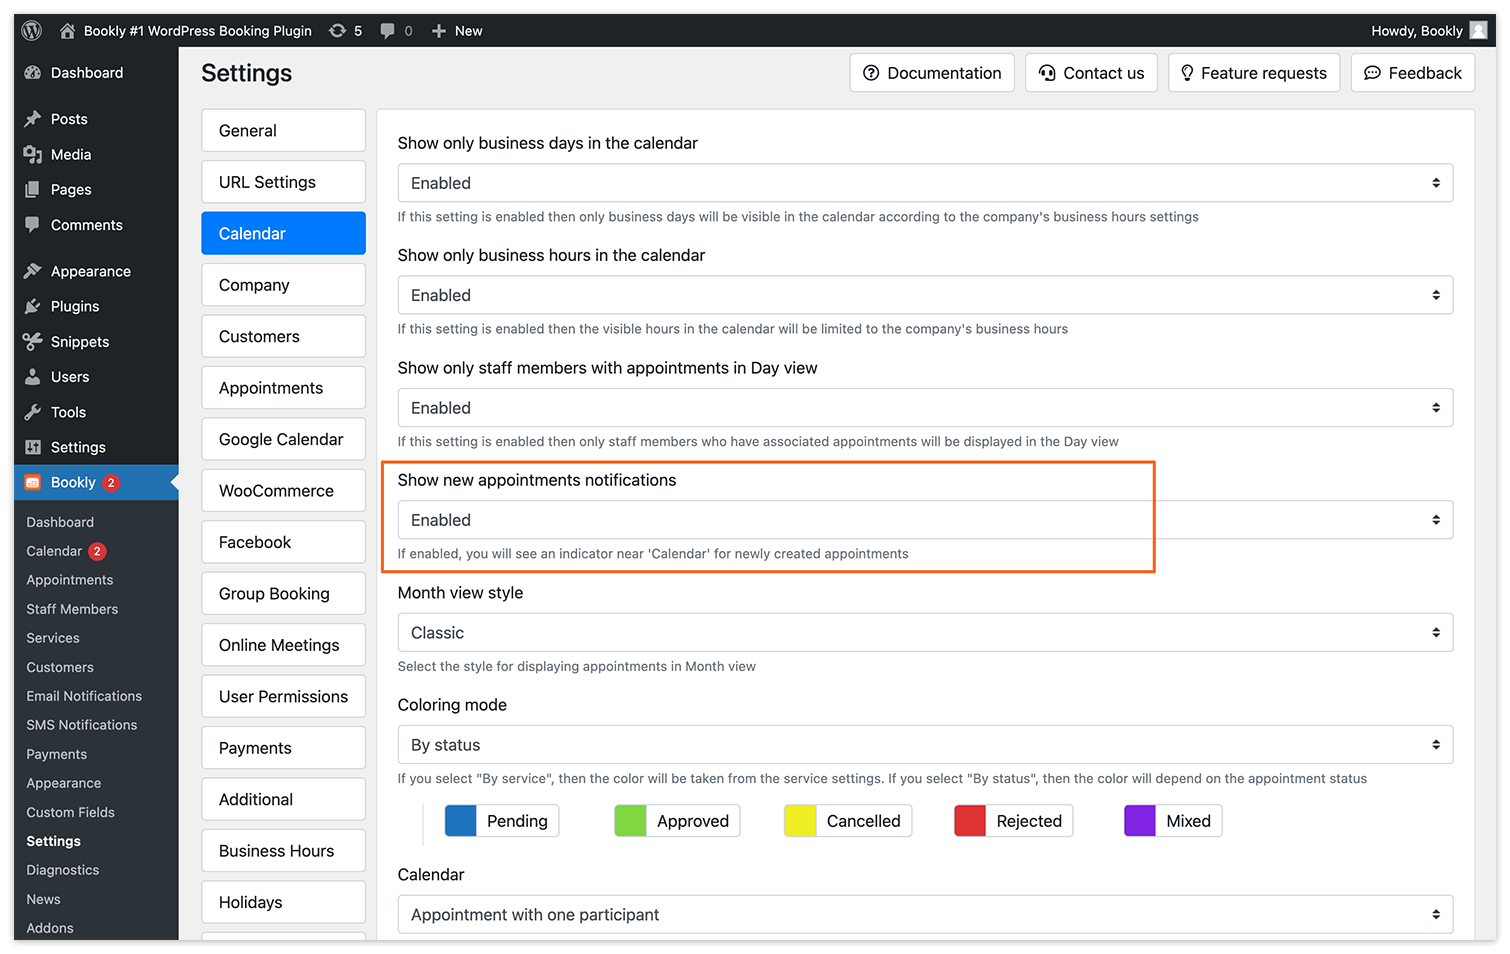
Keep track of bookings through your Bookly Calendar. If you enable the alert counter for new appointments in Settings > Calendar > Show new appointments notifications, a red indicator near the Bookly Calendar will display the number of new bookings you have.
You can manage bookings, view client details, and make adjustments as needed.
That’s it! By following these steps, you can create and manage bookable events effectively using Bookly, providing a seamless booking experience for your clients.
If you have any questions or concerns, feel free to reach out to us here. We are happy to assist you in configuring your booking scenario.

